I started as a music enthusiast, and listening was important: especially with a growing collection of vintage turntables and receivers, I wanted to make sure I had a space for great acoustics.
Then, as I began producing more and more music, I discovered I also needed somewhere to accurately monitor what I was working with.
Here’s the gist of what I found.
Room Acoustics
To achieve sonically accurate music listening or mixing, it’s crucial to consider the acoustic characteristics of your room. Here are some steps to optimize your room’s acoustics:
- Minimize Reflections: Place absorptive materials such as acoustic panels, diffusers, or bookshelves on reflective surfaces, such as bare walls and hard floors. This reduces unwanted reflections and echoes, leading to a more accurate listening experience. In my studio, I set up a line of bookshelves across the entire back wall, full of books and curios that deflect sound naturally.
- Address Bass Issues: Low-frequency buildup and standing waves can affect the accuracy of your sound. Use bass traps in corners and near walls to absorb excessive bass energy. Experiment with their placement to find the best balance. In my studio, I added foam bass traps in the corners of the ceiling.
- Speaker Placement: Position your speakers according to the “Rule of Thirds.” Form an equilateral triangle between your listening position and the two speakers. Experiment with speaker distance from walls to reduce boundary interference effects.
- Room Symmetry: Achieving a balanced soundstage requires symmetry. Ensure that furniture, decorations, and other elements are evenly distributed across the room. Avoid excessive asymmetry to maintain accurate stereo imaging.
Isolation and Vibration Control
To prevent external noise interference and maintain sonic accuracy, focus on isolating and controlling vibrations in your listening or mixing environment:
- Soundproofing: Use materials like mass-loaded vinyl, acoustic foam, or specialized isolation pads to reduce sound transmission through walls, floors, and doors. This helps keep external noise out and minimizes sound leakage.
- Decoupling: Isolate speakers and equipment from the room’s structure to prevent vibrations. Use speaker stands, isolation pads, or specialized vibration isolation products to minimize structural coupling.
- Floating Floors: For improved isolation, consider installing a floating floor. This construction technique involves creating an extra layer of separation between the room and the building’s structure, reducing vibrations from foot traffic or other sources. This is usually going to be impractical for the normal humans among us.
Monitor Placement and Calibration
To ensure accurate monitoring and sound reproduction, follow these guidelines for speaker placement and calibration:
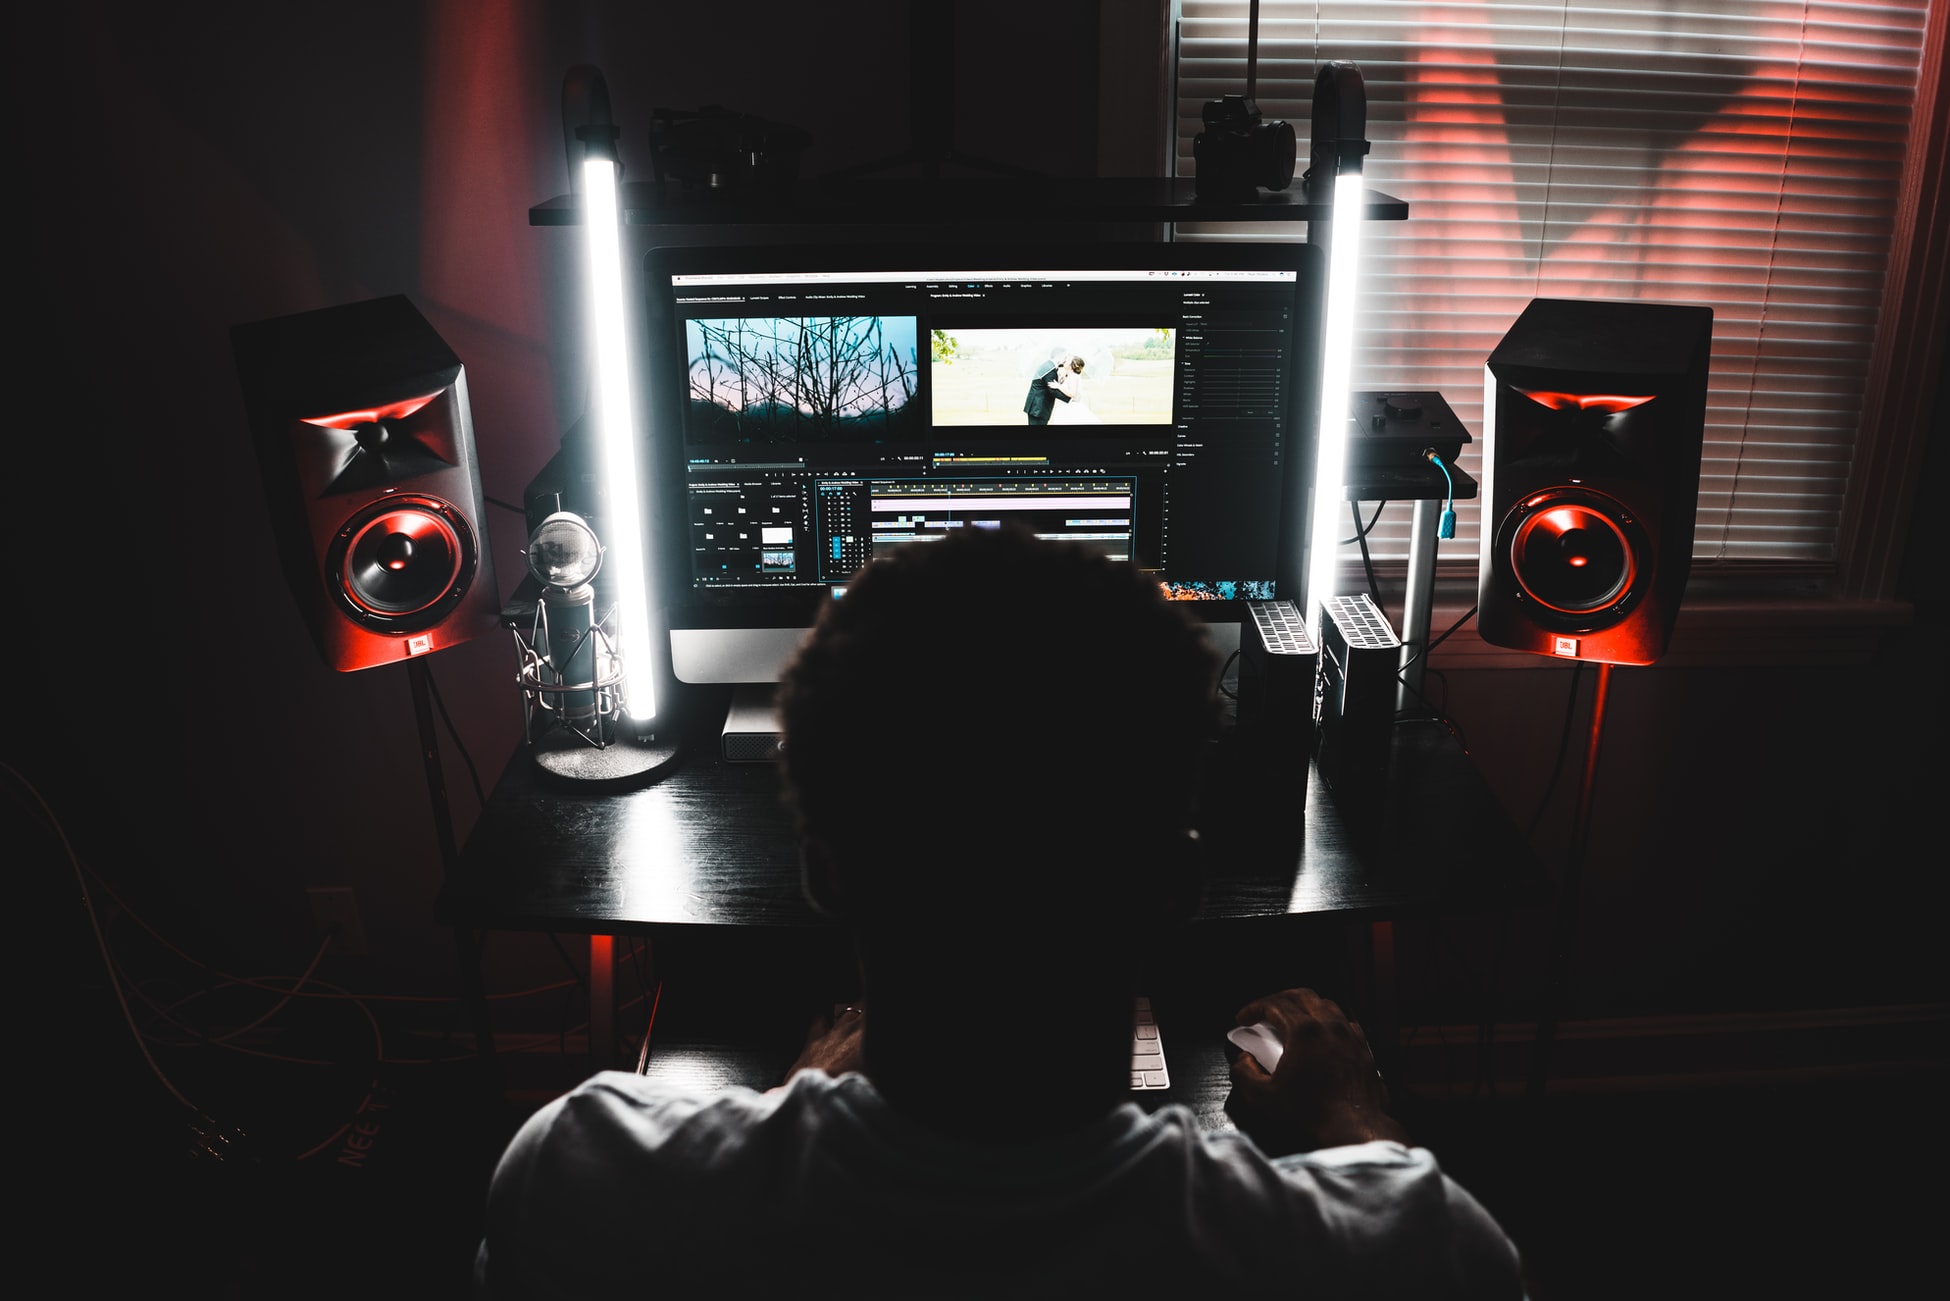
- Speaker Positioning: Place your monitors at ear level, forming an equilateral triangle with your listening position. Aim them directly at your ears and ensure that they are positioned symmetrically within the room.
- Calibration: Use room correction software or an audio measurement system to analyze and calibrate the frequency response of your speakers and room. This helps to compensate for any room-related tonal imbalances and improves accuracy.
Easy ways to improve your room sound
- Floors. My studio has hardwoods, but I added a thick lush carpet underneath my mixing position.
- Windows. I added a thick fabric sunshade which dampens sound reflections off of hard glass.
- Bookshelves. I added a wall of bookshelves full of items which definitely improved the natural sound of the room.
- Bass traps. Corner foam bass traps are an affordable way to reduce bass boom.
- Wall padding. I added thick frames of canvas with foam padding behind, to soak up unwanted sound reflections.
Achieving the perfect acoustic environment is a continuous process of refinement and adjustment based on personal preferences and room characteristics.


